General
This section of the documentation provides a detailed overview of the "General" settings within the FlowAgent site. These settings are foundational to how your site operates and presents itself.
Accessing General Settings
To access the "General" settings:
- Open the Site Settings by clicking on the three-dot menu in the top right corner.
- Navigate to the "General" tab from the settings menu.
Here, you will find several subsections that allow you to configure the basic aspects of your site.
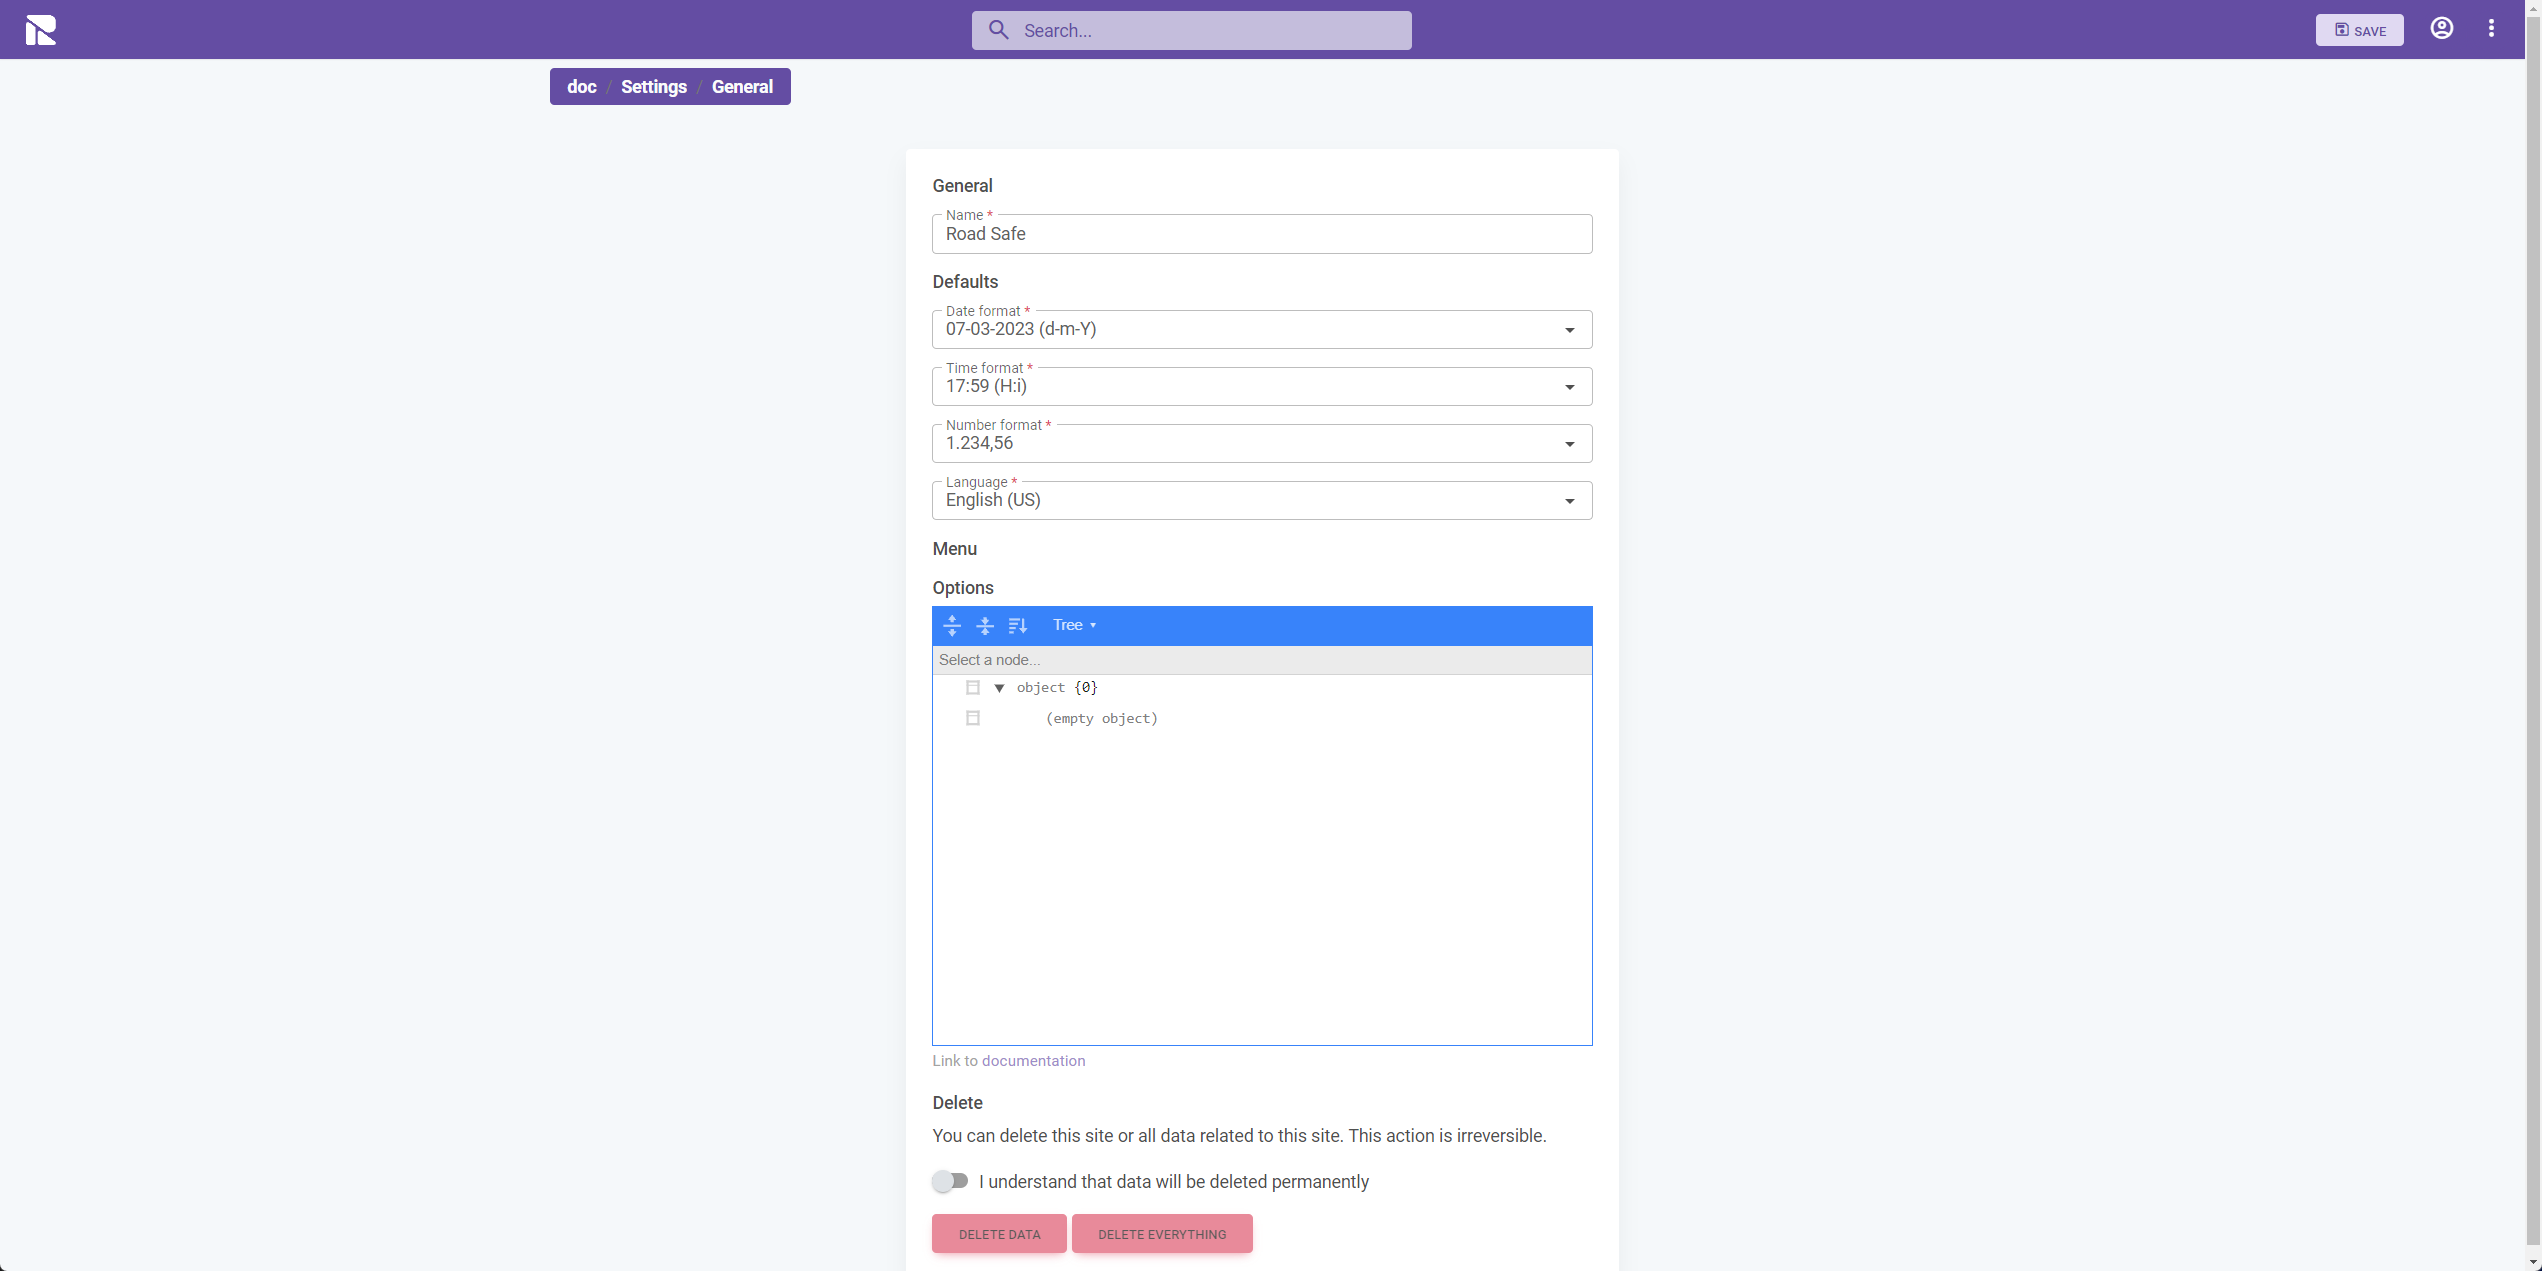
Configuring General Settings
Site Name
- Name: The name of your site as you want it to appear across the platform. This should typically be your company or organization's name.
Defaults
- Date format: Select the format in which you want dates to be displayed across the site.
- Time format: Choose how times are shown, whether you prefer the 24-hour clock or the AM/PM format.
- Number format: Set how numbers, including figures and statistics, are formatted (e.g., decimal places, thousands separator).
- Language: Specify the default language for the site interface.
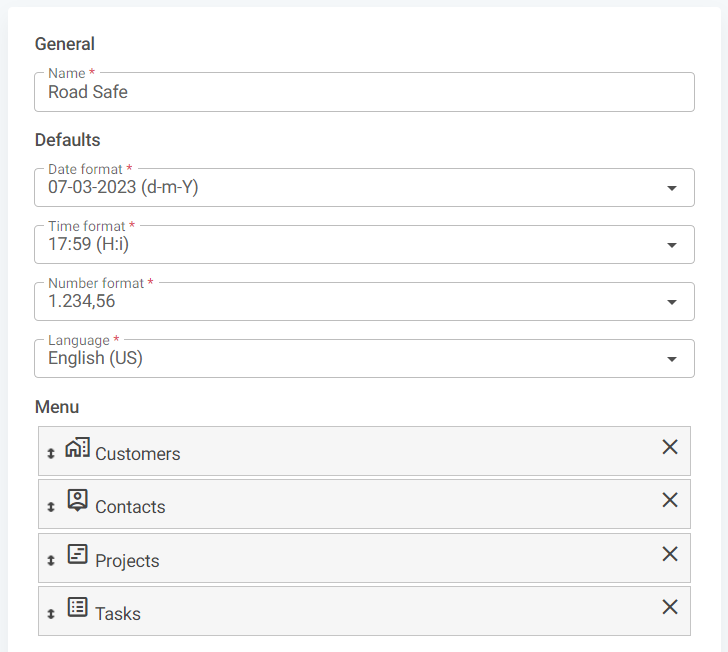
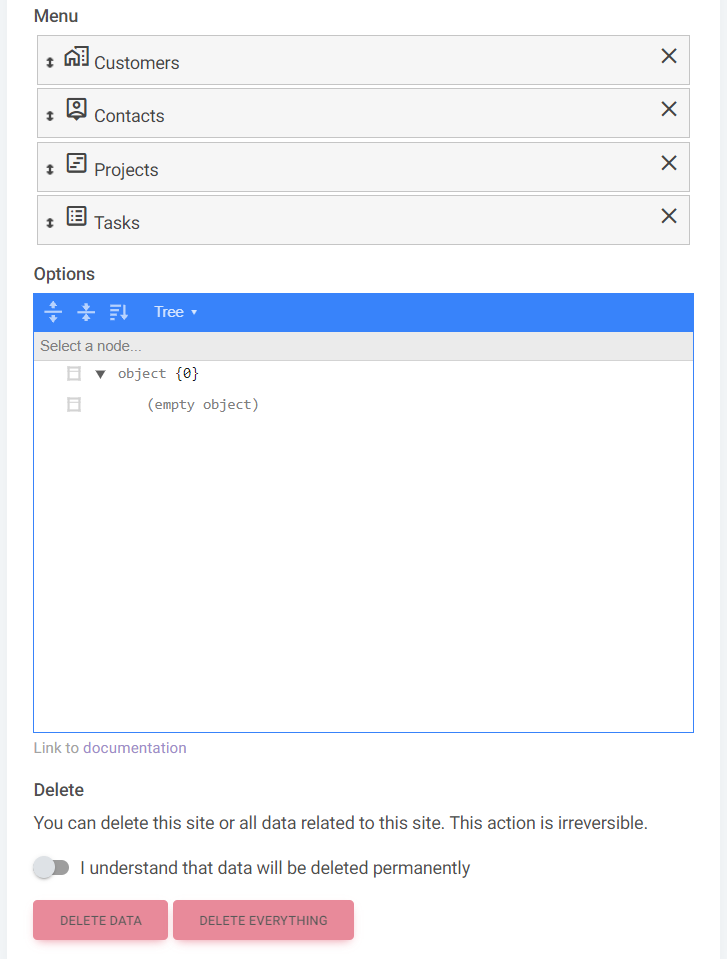
Menu
- Menu (modules): Here you can manage the order of the modules as they are presented to the user when accessing the
searchfunction in the top navigation menu.
Options - JSON
- JSON Site configuration: Use the JSON editor to further configure the site
Delete
- Important: At the bottom, you have the option to delete site data. Be cautious, as this action is irreversible. Ensure you have backups if necessary before performing any deletions.
Saving Your Settings
After making the necessary changes, click on the "SAVE" button in the top right corner to apply your new configurations.
JSON Editor in General Settings
Within the General settings, the JSON editor can be used to:
- Support portal: Set a URL for a site dedicated support portal. This can be used to direct users to a support portal that is specific to the site's needs.
- Actional buttons: You can specify custom buttons that perform actions defined by the user, enhancing the site's interactivity and functionality.
Example
{
 {
  "supportUrl": "https://FlowAgent.atlassian.net/servicedesk/customer/portal/xx"
 },
 "dashboard": {
   "actionalButtons": [
     {
       "keyName": "ab_create---task"
     }
   ]
 },
}
In this example, a support portal URL is added to the site. This can be accessed by choosing the user icon in the top navigation bar, and then Support
A buttons is added to the main dashboard, for the users to interact with..
The documentation is missing screenshots for support and buttons. Also the screenshot of the actual page should be updated, when there are modules to rearrange,