Users
Managing users is a critical function within the FlowAgent platform. This section outlines how to invite new users, manage existing users, and utilize various user-related features.
Accessing the User List
To manage users within FlowAgent:
- Go to the "Users" tab in the Site Settings.
- You'll be presented with a list of active users.

Inviting Users
To add a new user to the platform:
- Click on the "INVITE" button.
- Enter the user's email address and assign them to one or more groups. Refer to the Groups documentation for details on user group permissions.
- Click "SEND" to dispatch the invitation.
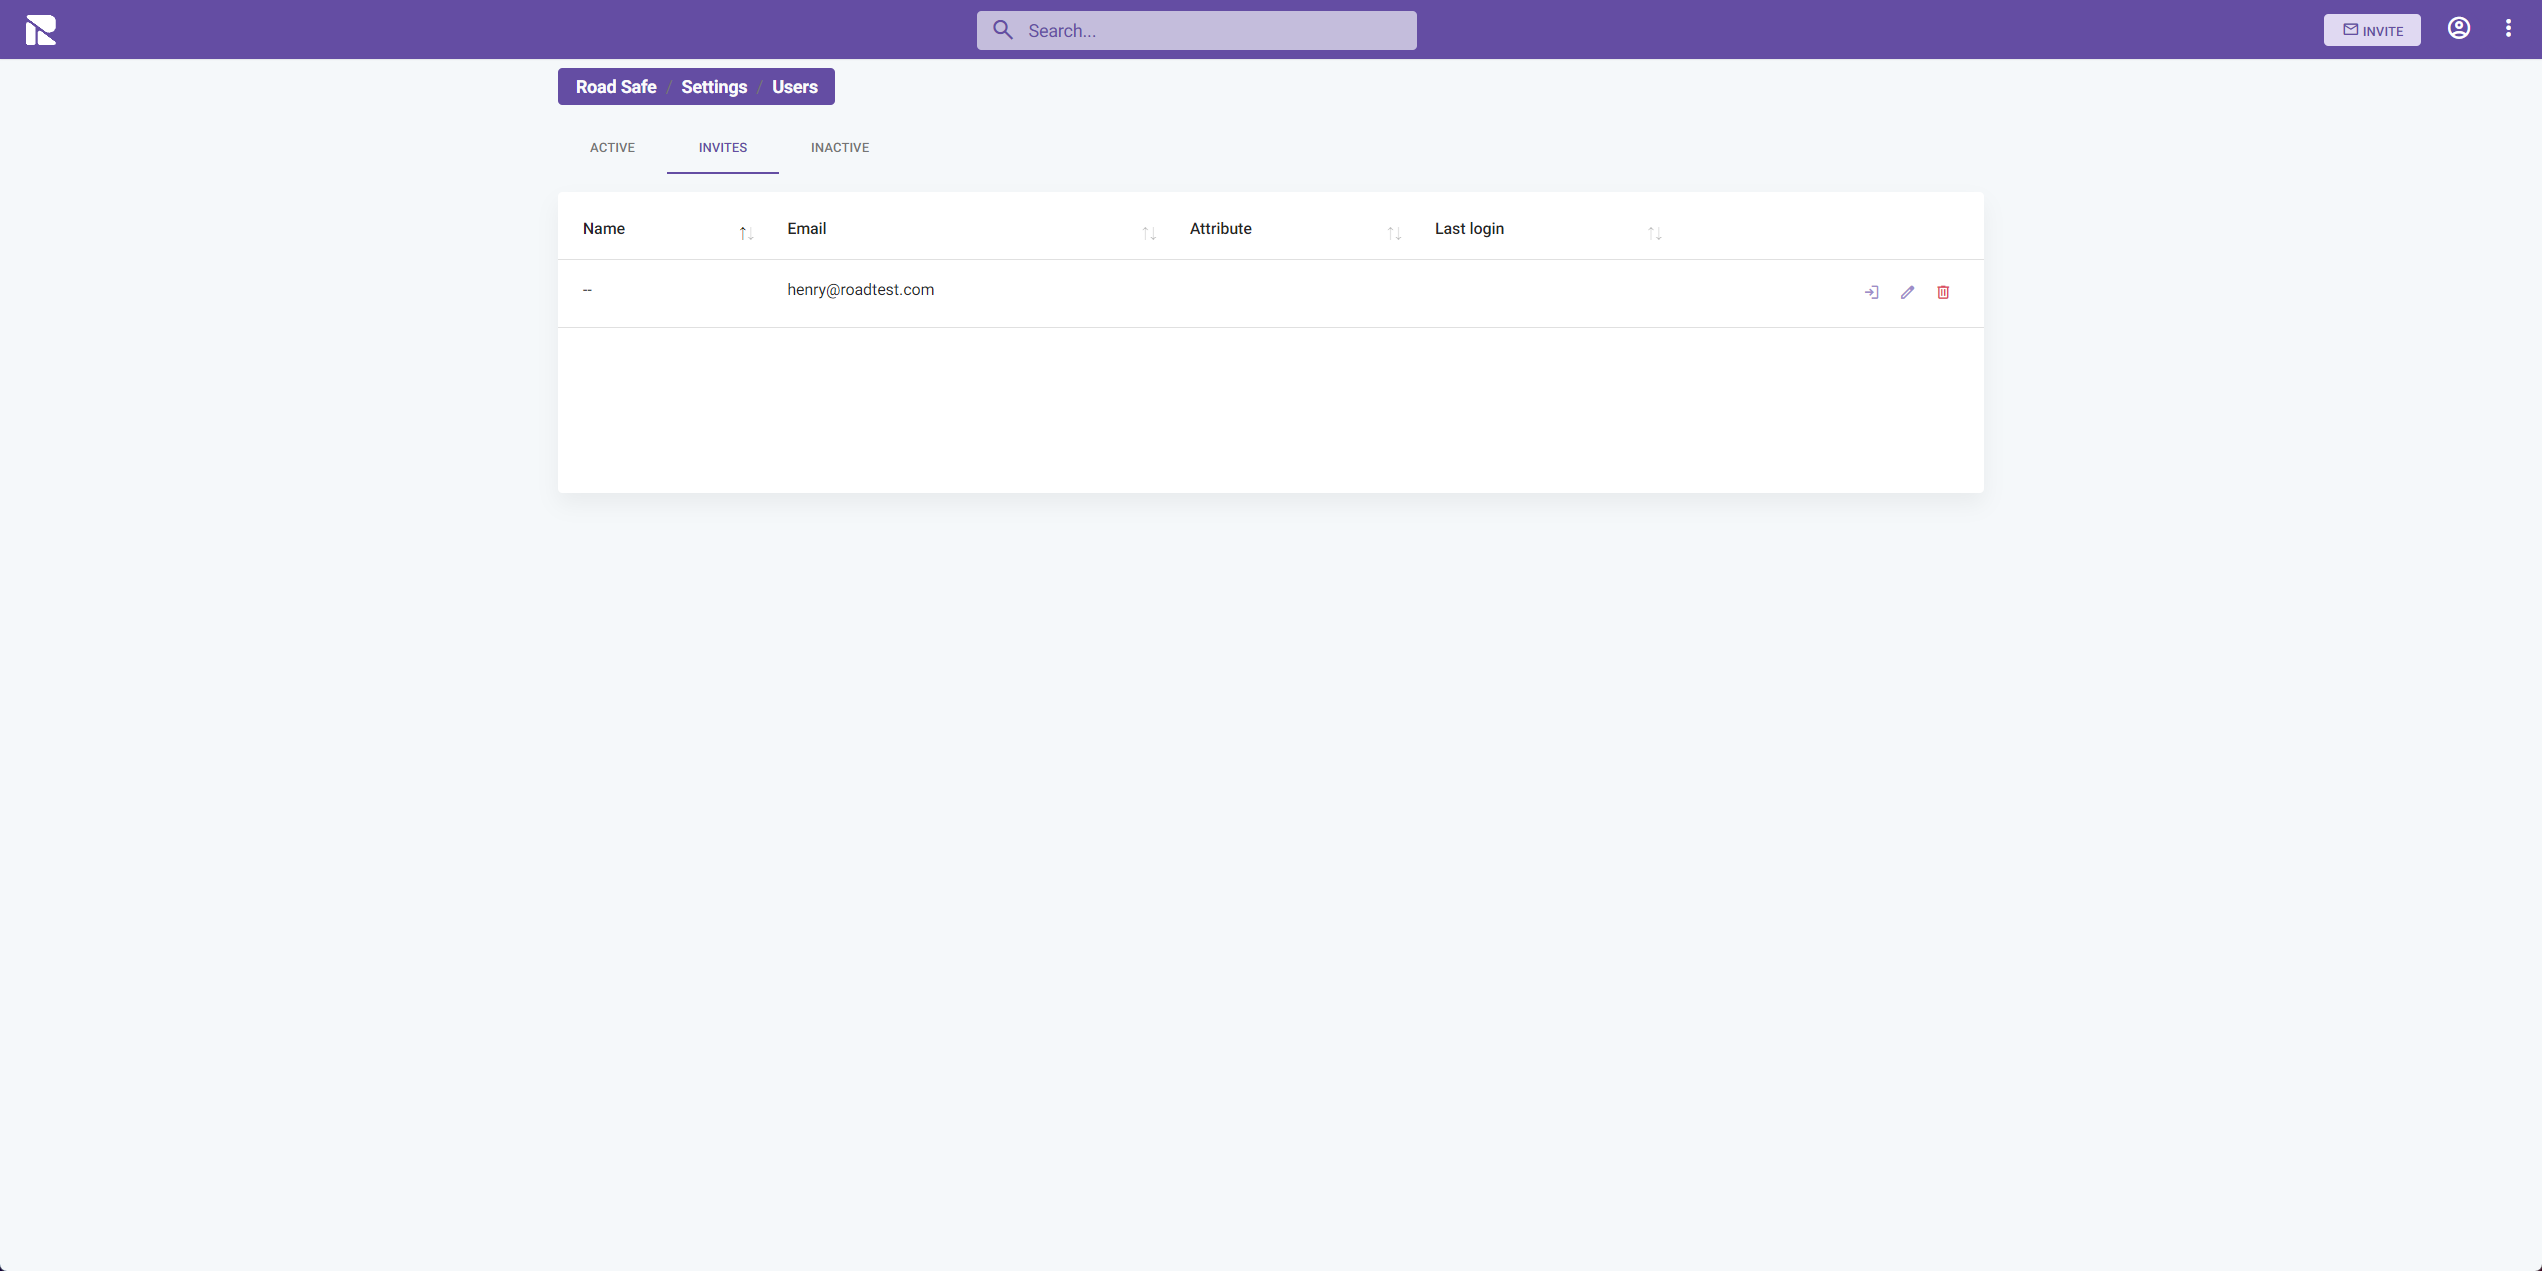
Once invited, users will appear in the "Invites" tab. Upon completing their account setup, they will move to the "Active" tab.

Managing Invitations
In the "Invites" tab:
- You can track pending invitations.
- Resend invitations if needed.
- Cancel invitations before they are accepted.
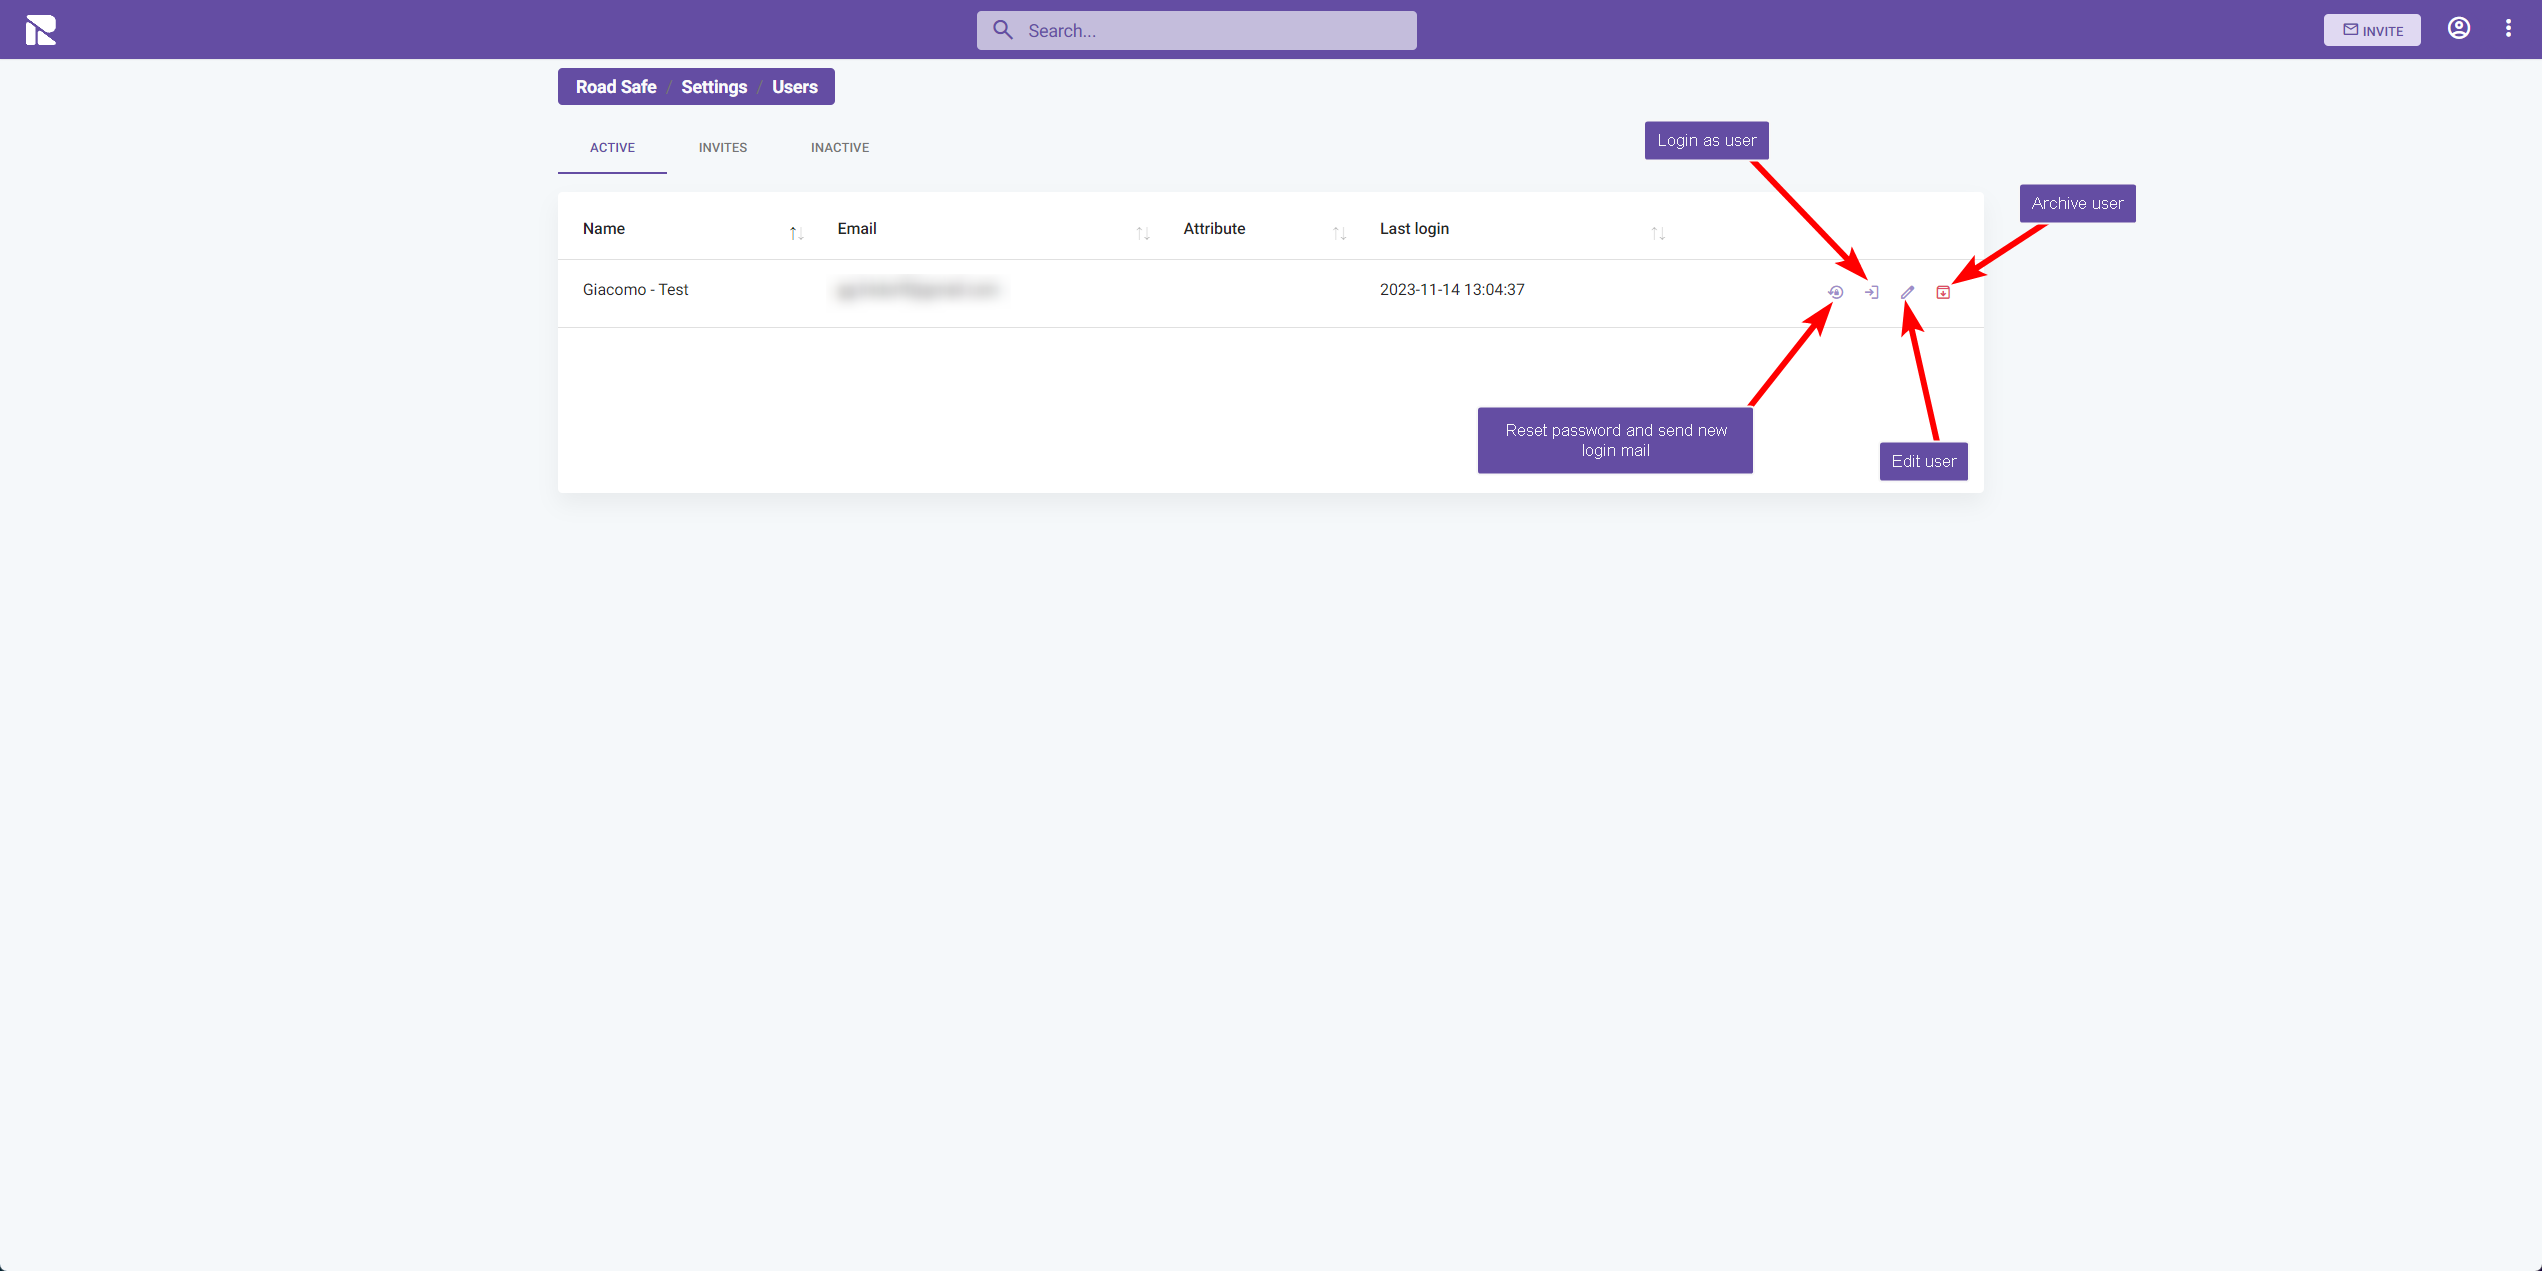
User Actions
For each user in the list, the following actions are available:
- Login as user: Temporarily access FlowAgent as the selected user to troubleshoot or provide support.
- Reset password and send new login mail: If a user has trouble logging in, you can send them a password reset email.
- Edit user: Modify user details or group assignments.
- Archive user: Temporarily disable user access without deleting their account. Archived users can be reactivated later.
After making changes to a user's account or group assignments, ensure you "SAVE" to apply the updates.